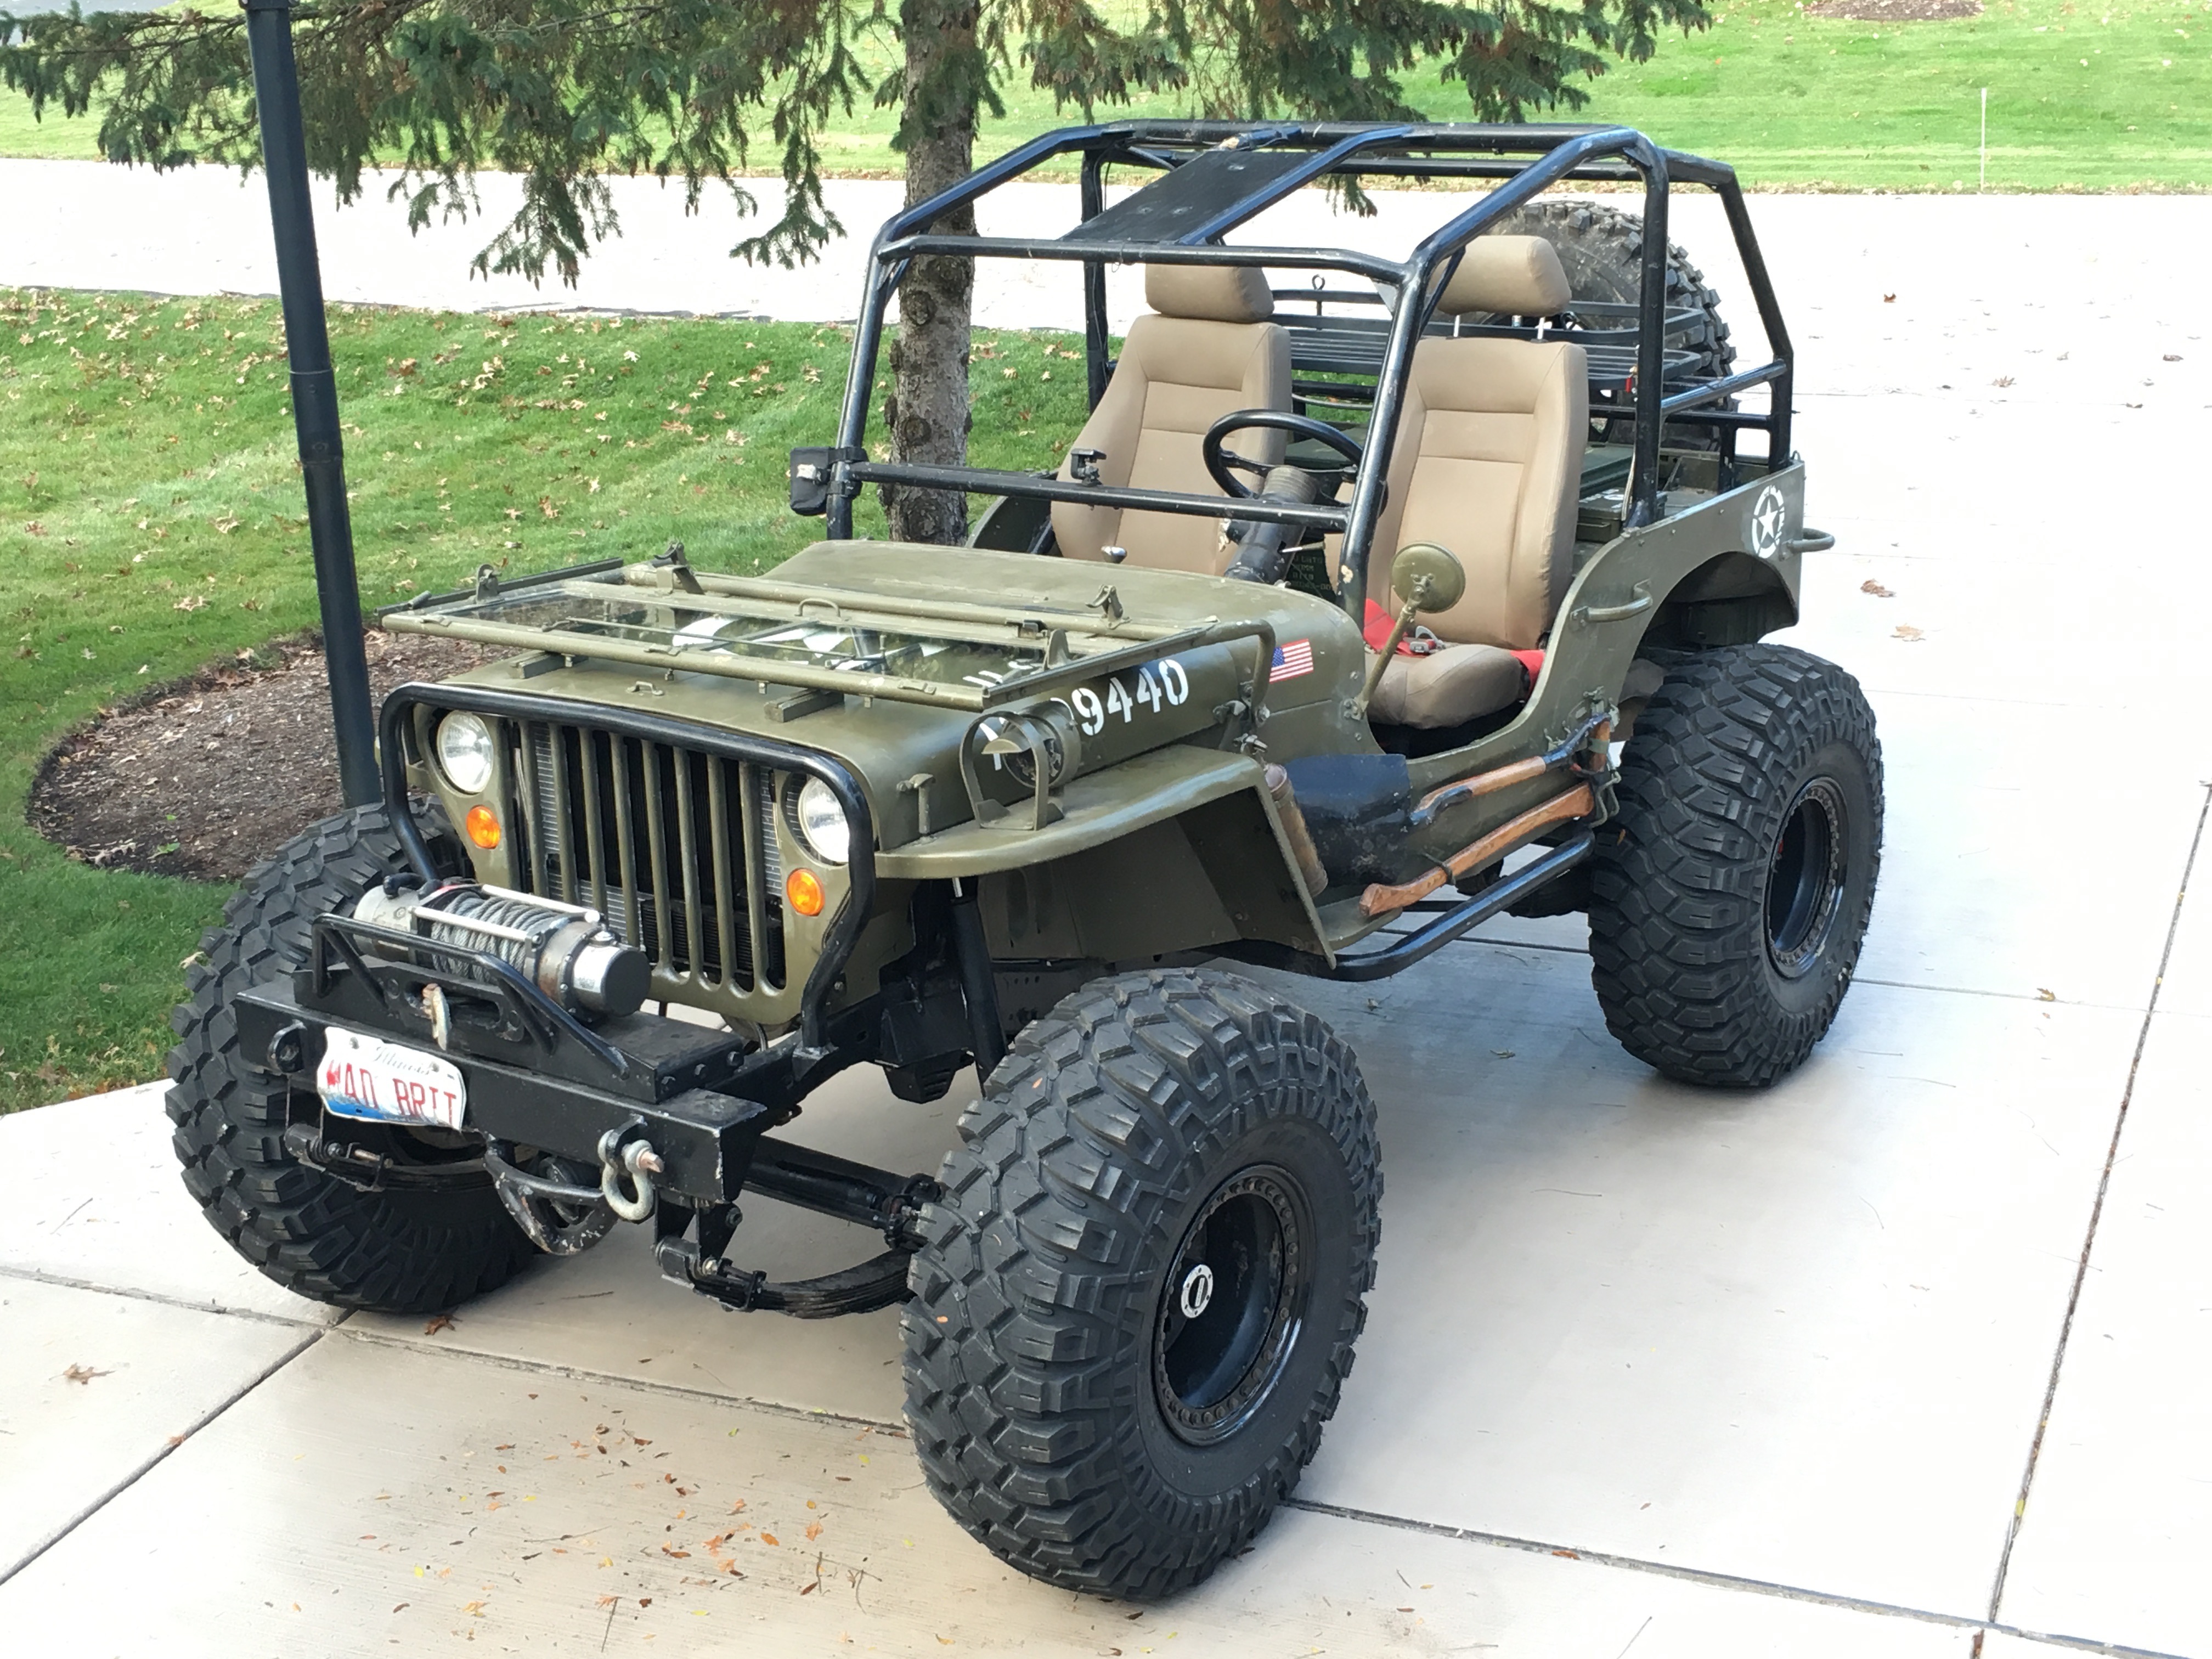
Ready for the Easter Jeep Safari 2016, Moab, Utah
Fourteen years of abuse has resulted in an much needed overhaul. Not just an overhaul but fixing things that weren’t even broken which resulted in transferring weight to the rear of the Willys which I can ill afford to do which may come back to bite me when I am out in Moab climbing rocks too tall for a short wheelbase.
I miss John Toumbs who had performed so much of the mechanical work on the Willys over the last decade, but he has now moved to Colorado (smart man) and it was a bit of a haul to take the Willys out to him for a fix. Thankfully Overkill Offroad run by Mark Vittetow, another Two Rivers Jeep Club member was equally qualified and keen to perform the overhaul.
TIRES - There are few tires that surpass the performance of Interco Boggers in mud and midwest trail running so it was a hard decision to change tires knowing they also do pretty darn well in the rocks. I have been debating tires forever so when the email came offering a big discount on tires and in a weak moment placed the order. So.... let's hope they work as well as advertised. Driving around town they are mighty quite but then again I've been running Boggers and they don't come much louder.
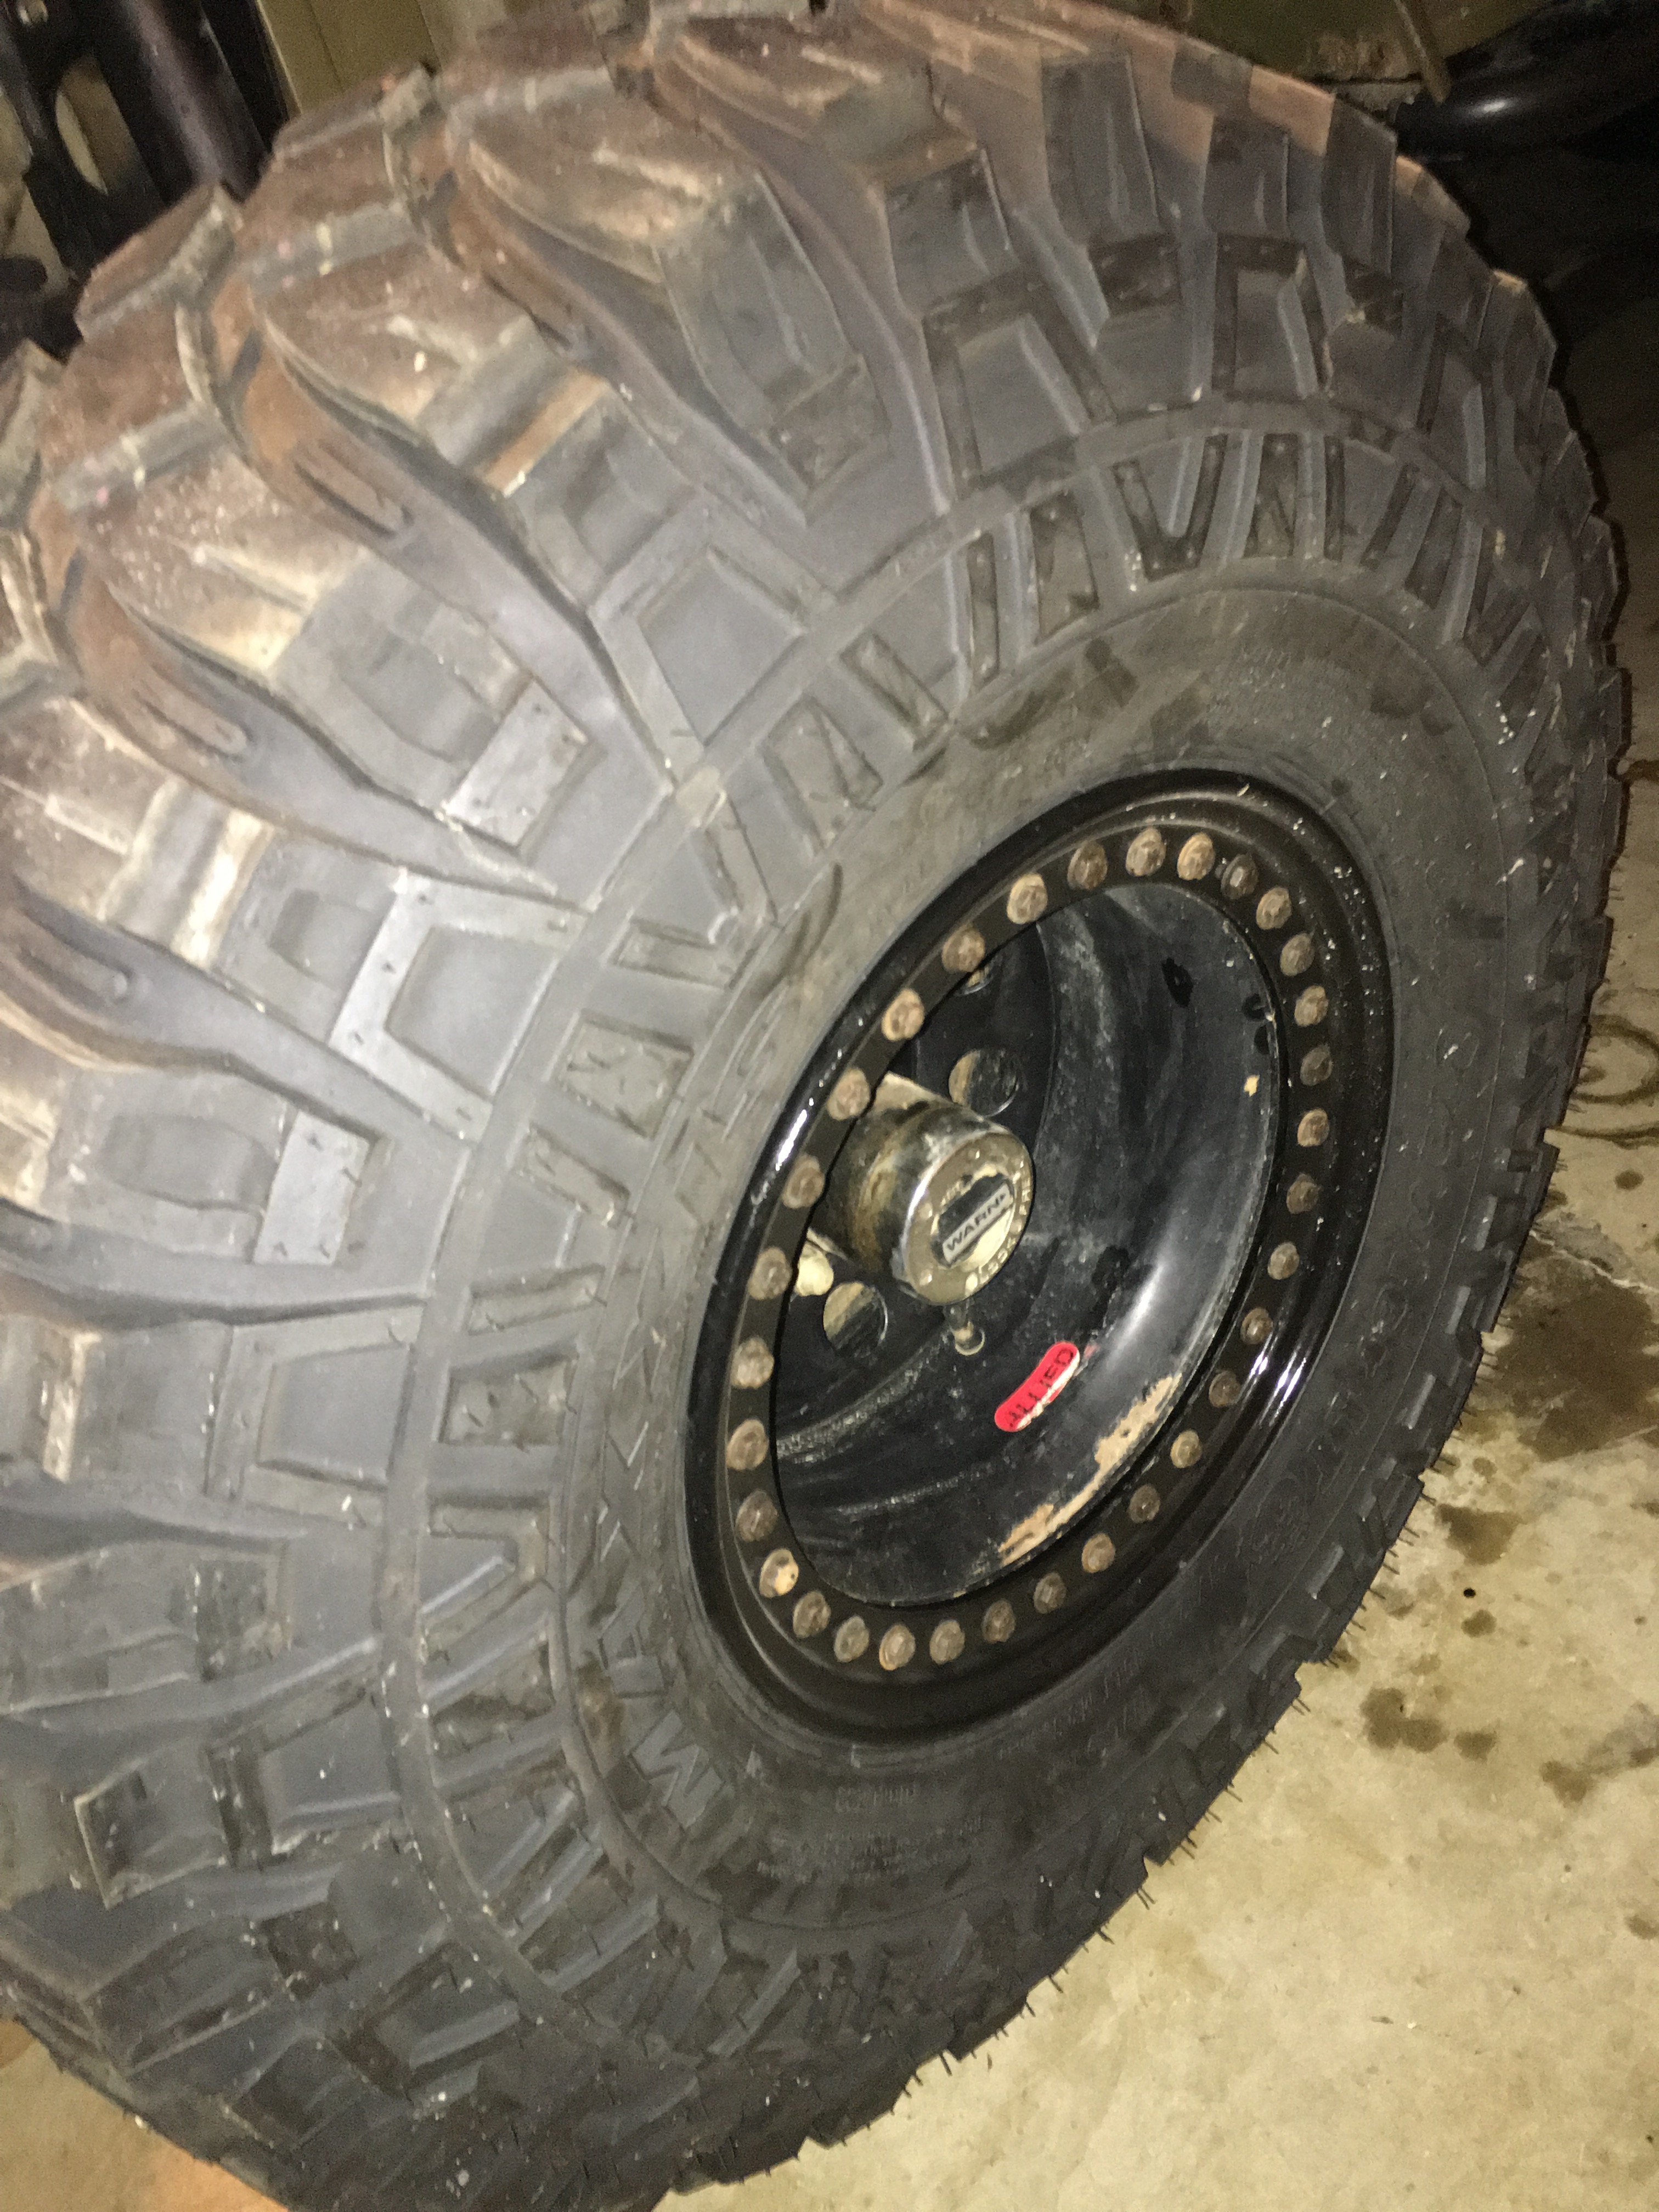
Maxxis Creepy Crawler M8090 - 37”x12.5”x15” on Allied Rock-a-Thon 36 bolt Beadlocks
Gas Tank - The original gas tank had a foam insert that was starting to disintegrate and the internal sender unit had stopped working some years ago which was really annoying as I had run out of gas several times because of it. My plan was to replace it with an aluminum unit from RCI but Mark is a fabricator with a creative mind. The result is in my opinion pure genius.
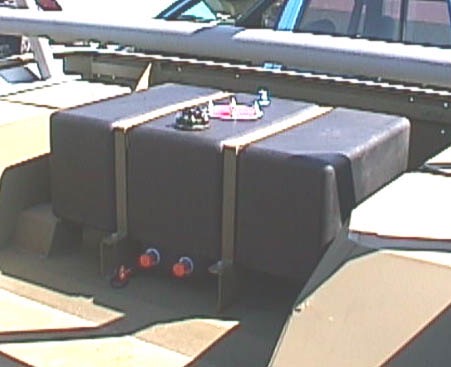
Original Fuel Tank

New 30mm Ammo Can Fuel Tank
Click here for the New 30 mm Ammo Can Gas Tank Photo Album
OVERHEATING - The Willys has been plagued with overheating from day one. It would idle all day on the trail but couldn’t go 10 miles on the road without the water, oil and transmission temperatures red lining.
With the larger radiator and duel electric fans there was absolutely no room under the hood for the battery so it was moved behind the drivers seat. I’m not super happy about this as the battery is visible behind the drivers seat and it has added weight to the rear of the vehicle.
To fit the larger radiator and fans Mark had to cut and move the radiator cap, cut and clock the lower outlet, make and weld the upper hold down brackets on the new radiator. Make mounts for transmission and power steering coolers. Cut off the old radiator mounts and make and install new ones. Make and install the radiator shroud for the dual fans. Plumb the transmission cooler and power steering cooler with Aeroquip hoses and fittings and relay the fan relay all in a mere 30 hours.
The fans were rewired to ignition on, very basic and reliable, turn the key and the fans come on, turn the key off and the fans turn off. After years of fighting cooling issues on my rig Mark considered this the best and most reliable option. The 160 degree thermostat was replaced with a 180 degree unit. Thermostats are there to restrict water flow long enough to cool the water in the radiator and open to the temperature that the motor is supposed to run at. Mark was pretty sure the 4.3 V6 is supposed to run at 190 degrees. that being said he ran the motor in the shop for a half an hour revving it to 2500 rpms for 2 minute intervals and back to idle. It never got above 180 degrees, he then took the Willy's out for a 30 mile test drive. He topped off the tank with 93 octane gas and a can of Seafoam. With the much improved road manners of the new tires cruising at 60 mph was effortless, at one point it reached 70. The water temperature never went above 190 degrees and when left running in the driveway and it returned to 180 degrees.
Mark made custom mounting brackets for the new bad ass Spal fans. He rewired the new fans with duel relays and a 40 amp breaker. (Yes 40 amps as they blew a 25 amp fuse, these things move some serious air.) Sadly, they do sound like an AV8 Harrier jump jet hovering.
A new distributor, coil, knock sensor and plug wires were installed. To eliminate engine knock new wiring was installed in the ECM to accept the new distributor and remote coil.
Mark did a fine job making new radiator brackets and very slick custom alternator brackets. Please check out the photos.
New oil and transmission coolers were shoe horned in between the radiator and grill.
Click here for the New Radiator and Electric Fans Photo Album
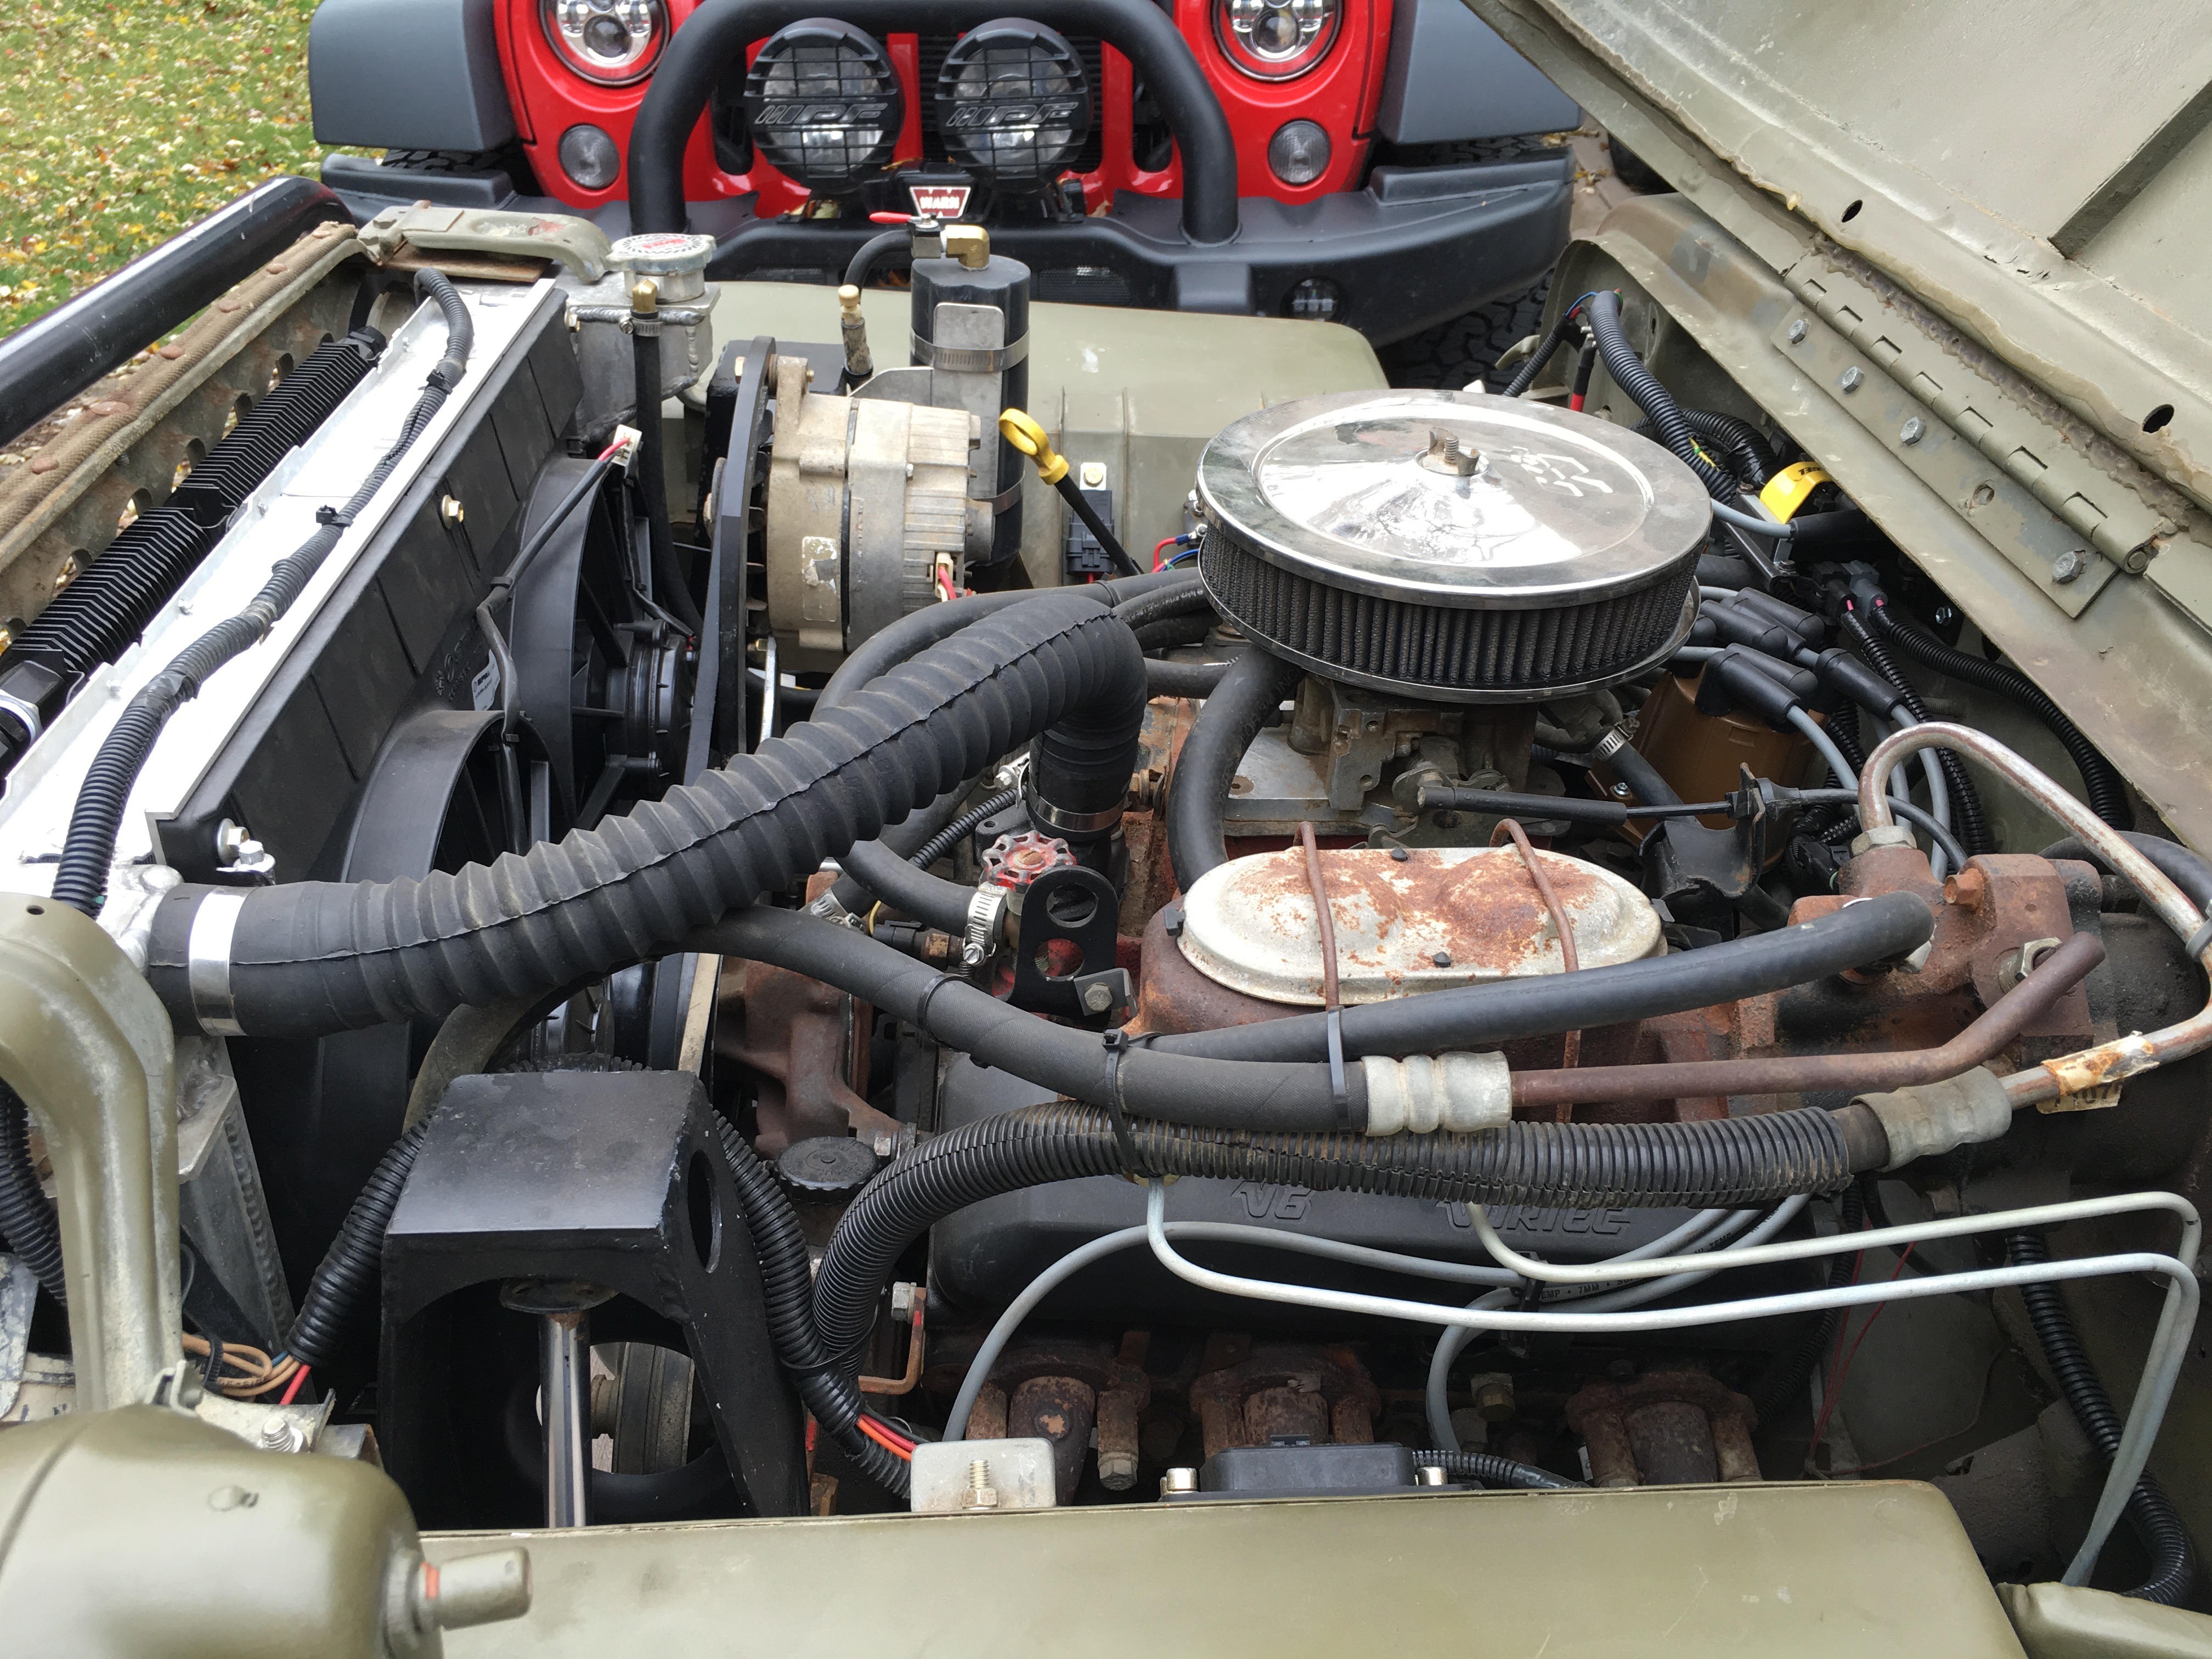
New radiator, electric fans, custom alternator bracket and shock mounts
STEERING - SHOCKS - BRAKES - LEAF SPRING MOUNTS
Everything under the body of the Willys has taken a beating over the years. From general wheeling wear and tear to dumb stupidity and to old age. I lot of work was needed to bring the Willys back to functionality.
She turned right fairly well but turning left was a joke. The leaf spring U-bolt plates were hanging on by shear luck. I had driven the Willys down to the local gas station for gas and coffee after a morning wheeling session and forgot to unlock the front hubs. A U-joint came apart, the front driveshaft spun out of control destroying the exhaust, the transfer case linkage and the driveshaft itself.
Mark from Overkilloffroad.com performed the following fixes. He cut the inner “C”s off and welded them back on with the correct 8 degrees of caster. Mark re-machined the right side of housing to properly work with 2-1/2" wide leaf springs.This original housing was made for 2" wide leaf springs, so the only way to get u-bolts though the original holes in the casting was to bend them. This negates the clamping force needed to hold the axle in place, so the centering pin in the leaf spring breaks. This was the case with my spring. Also the top of the casting had been ground down for what looked to be an attempt to convert it to a leaf over housing then was poorly repaired for leaf under. U-bolt plates where poorly designed and constructed. The old ones left less than 1/8" of material on the outside edge of bolt holes. These plates hold the weight of the car. Mark made new heavy duty and cool ones.
While disassembling the front diff Mark noticed side play which measured .017 with a dial indicator. It should have had .010/.015 preload. Mark replaced the inner seals and added the shim's necessary to correct it.
The upper and lower ball joints on the right side were replaced.
The piston boot was torn on left brake caliper, froze up and would not collapse enough to except new pads. New front calipers and pads were installed as were new longer braided line's from Lefthander Chassis. In fact all the brake lines were replaced from the master cylinder to the calipers. A spare brake was tossed into the tool box as was a spare pitman arm that was reamed out and machined ready for installation.
The sight side axle u-joint was bad and was replaced.
The left side tie rod end was replaced. The ball joints were wallowed out. The steering wheel was all centered which was something that had been bothering me for a least 5 years.
Mark cut off the original front shock mount and fabricated lower shock mounts on the font end. The old location had interference issues and resulted in the break denting the shocks with the brake calipers. The upper shock mounts had to be removed to get the fenders off. Mark made new ones that need to be taller to compensate for the elevated lowers.
I did not want anything too fancy that would not look period correct. The finished product did not only look cool but should help with engine cooling as well.
Click here for the Steering, Shocks, Brakes and Leaf Spring Mounts Photo Album
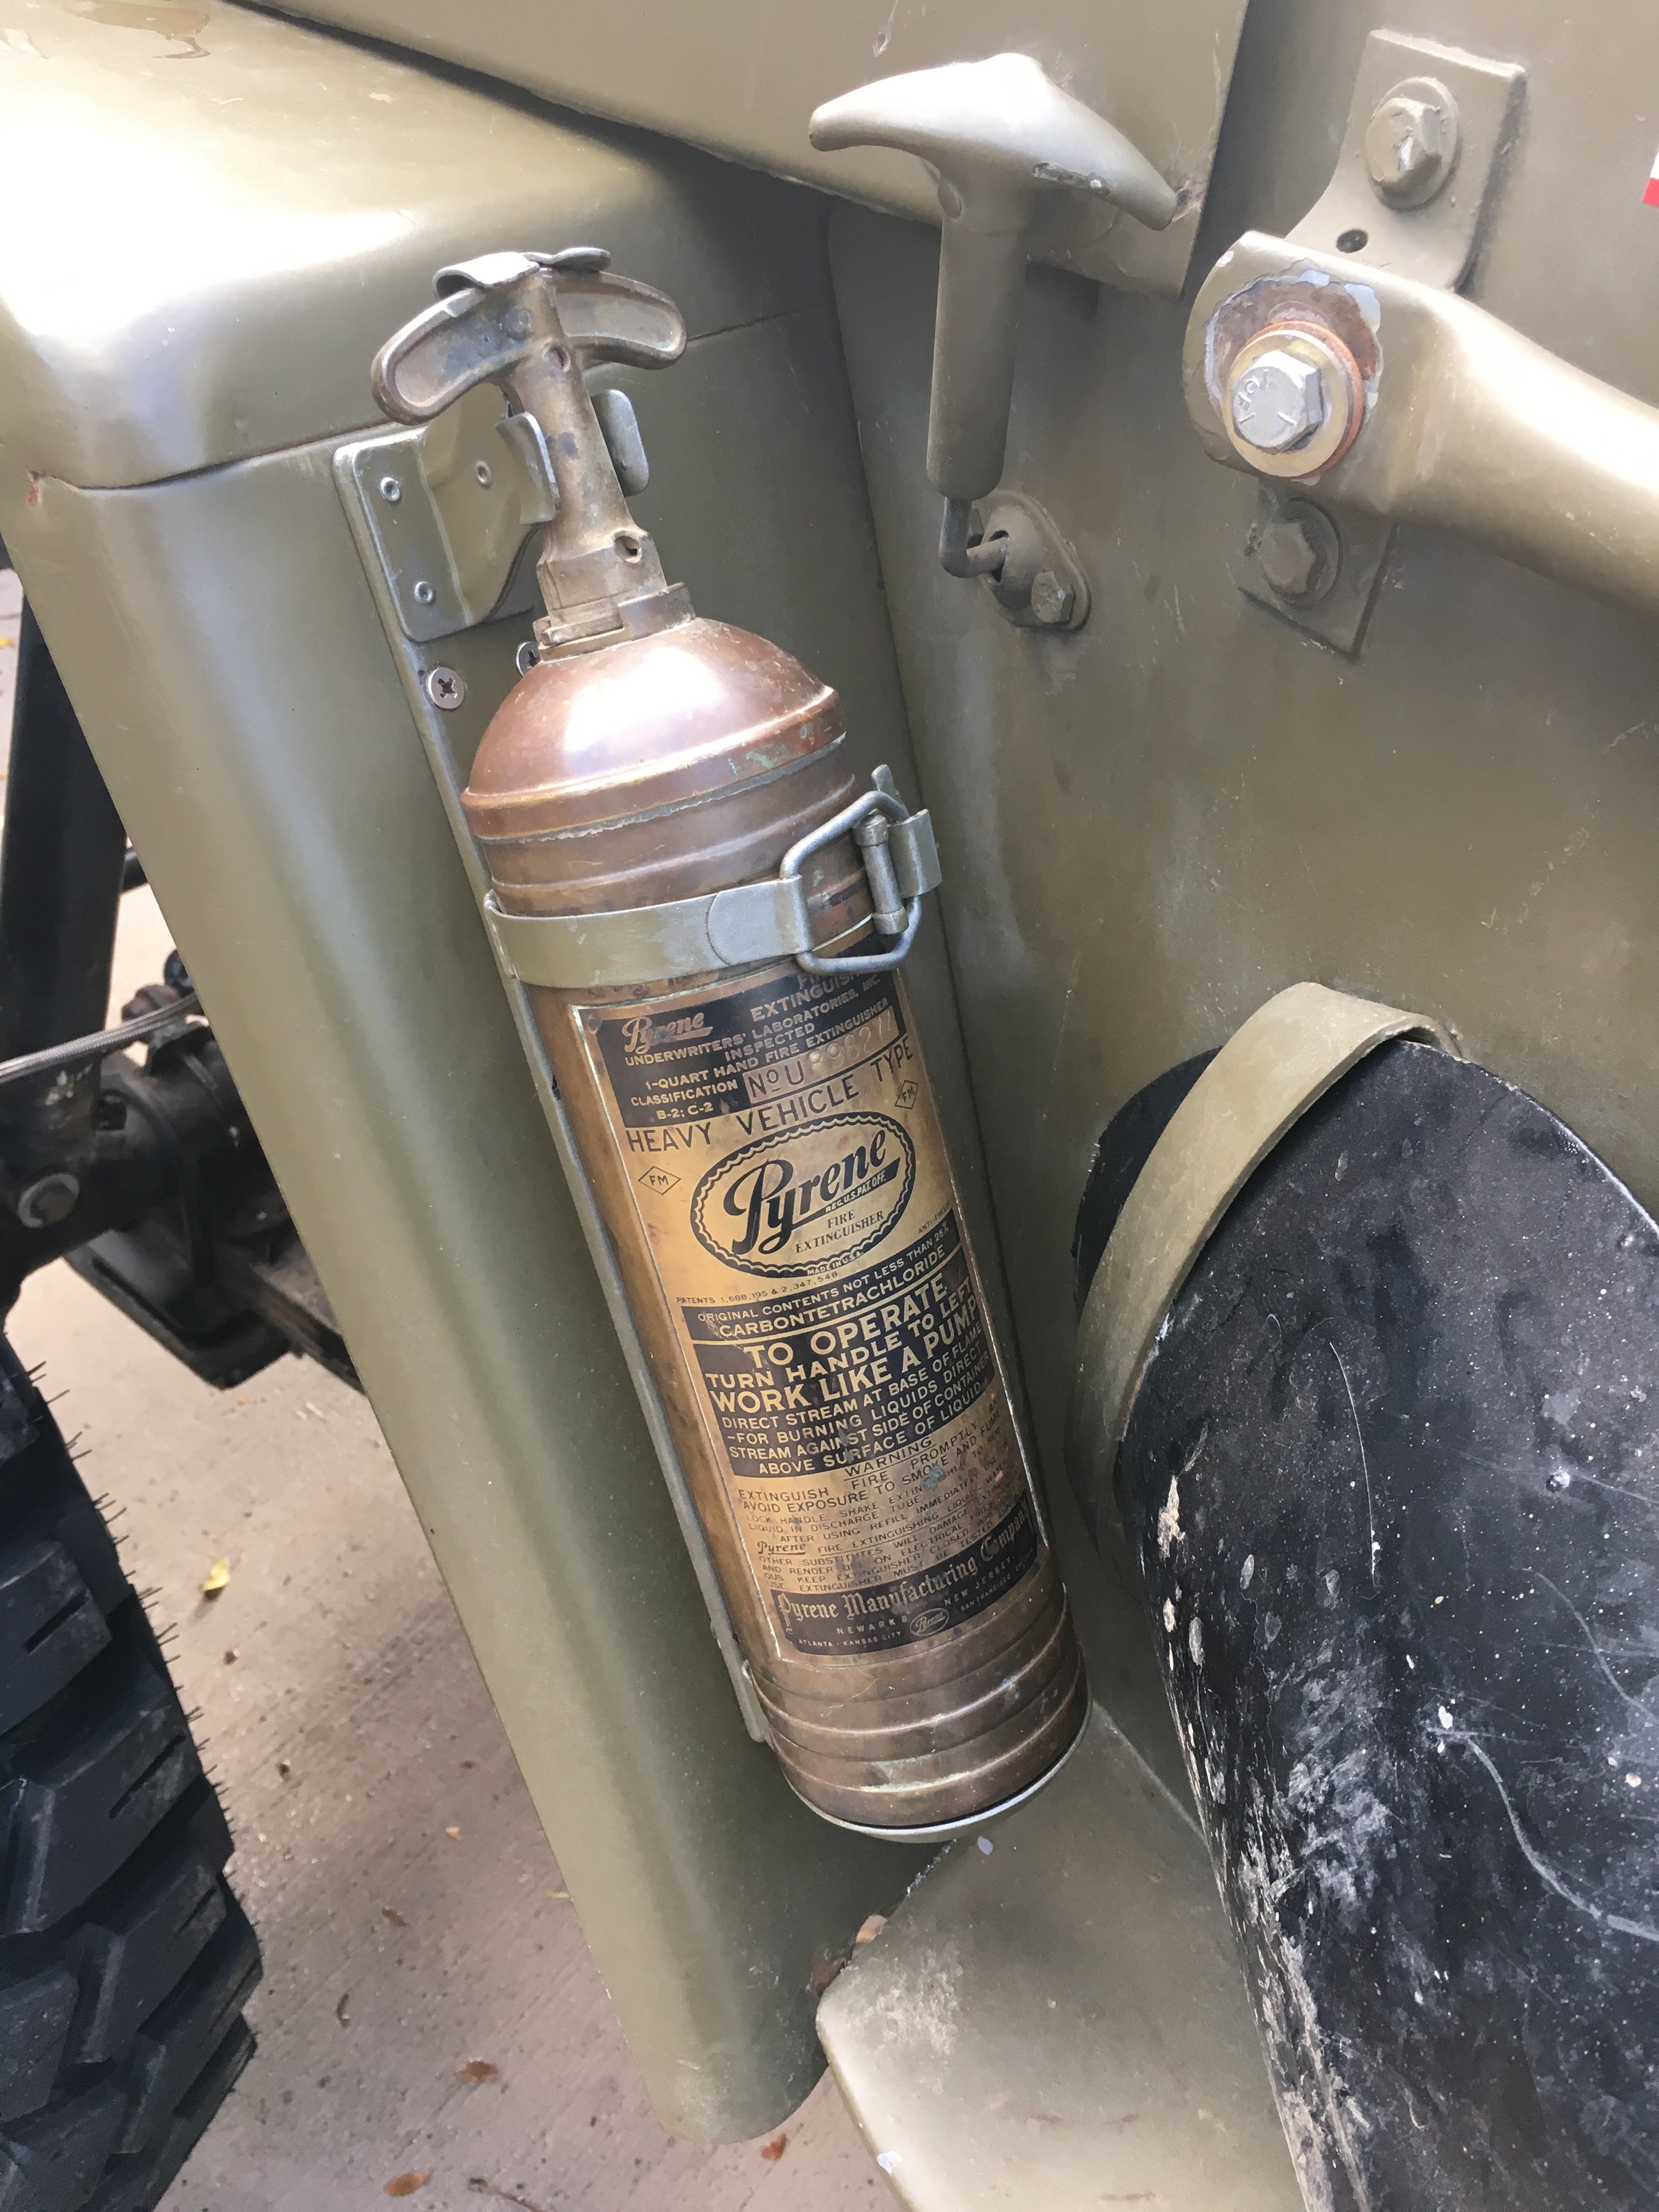
Original Pyrene Fire Extinguisher